
Last updated October 16, 2026
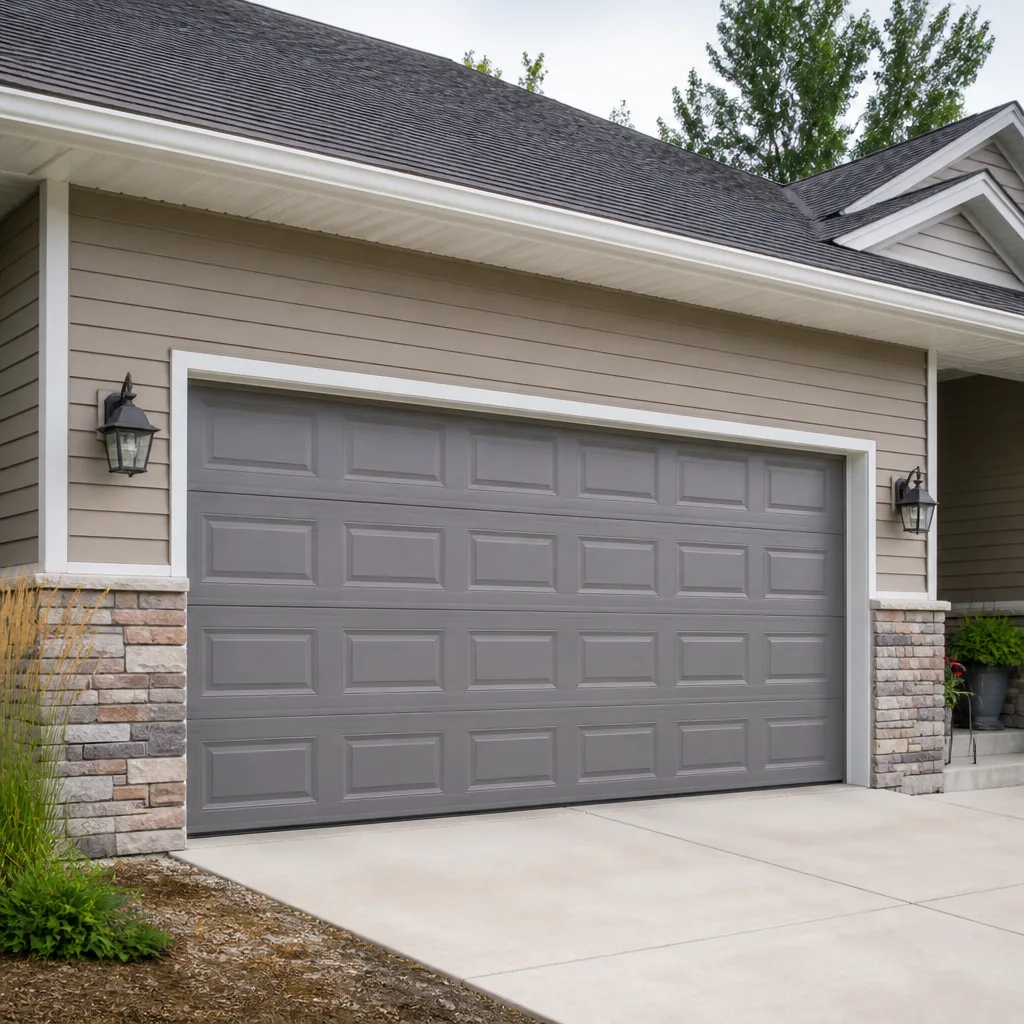 Raised-panel steel
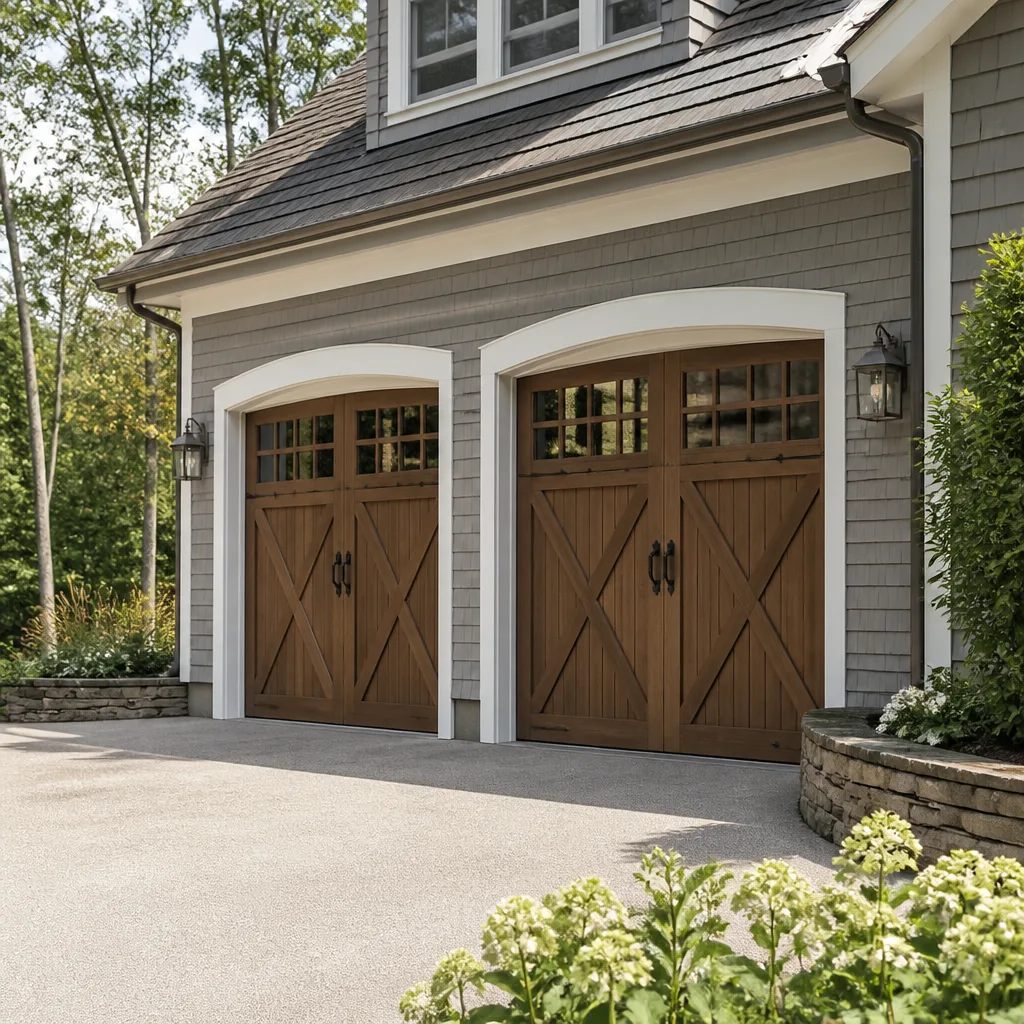 Carriage house
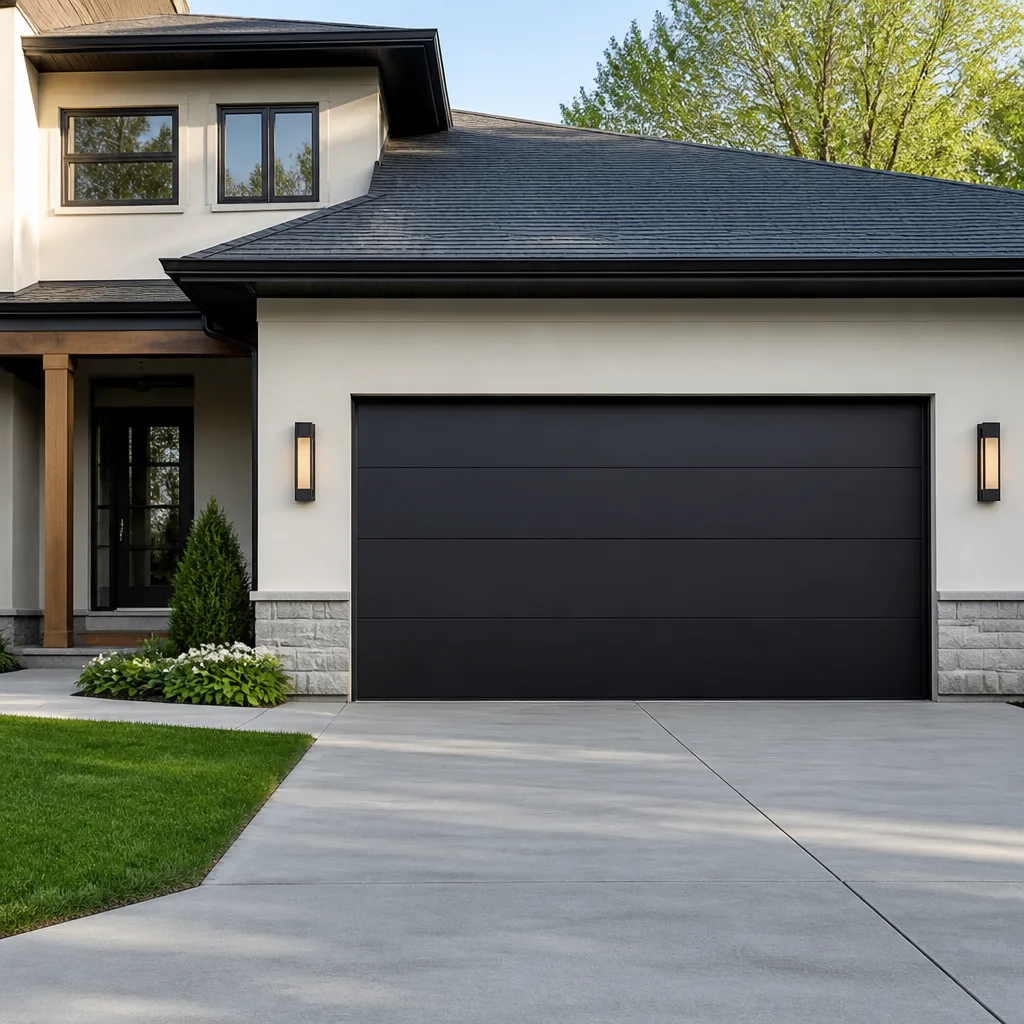 Modern flush
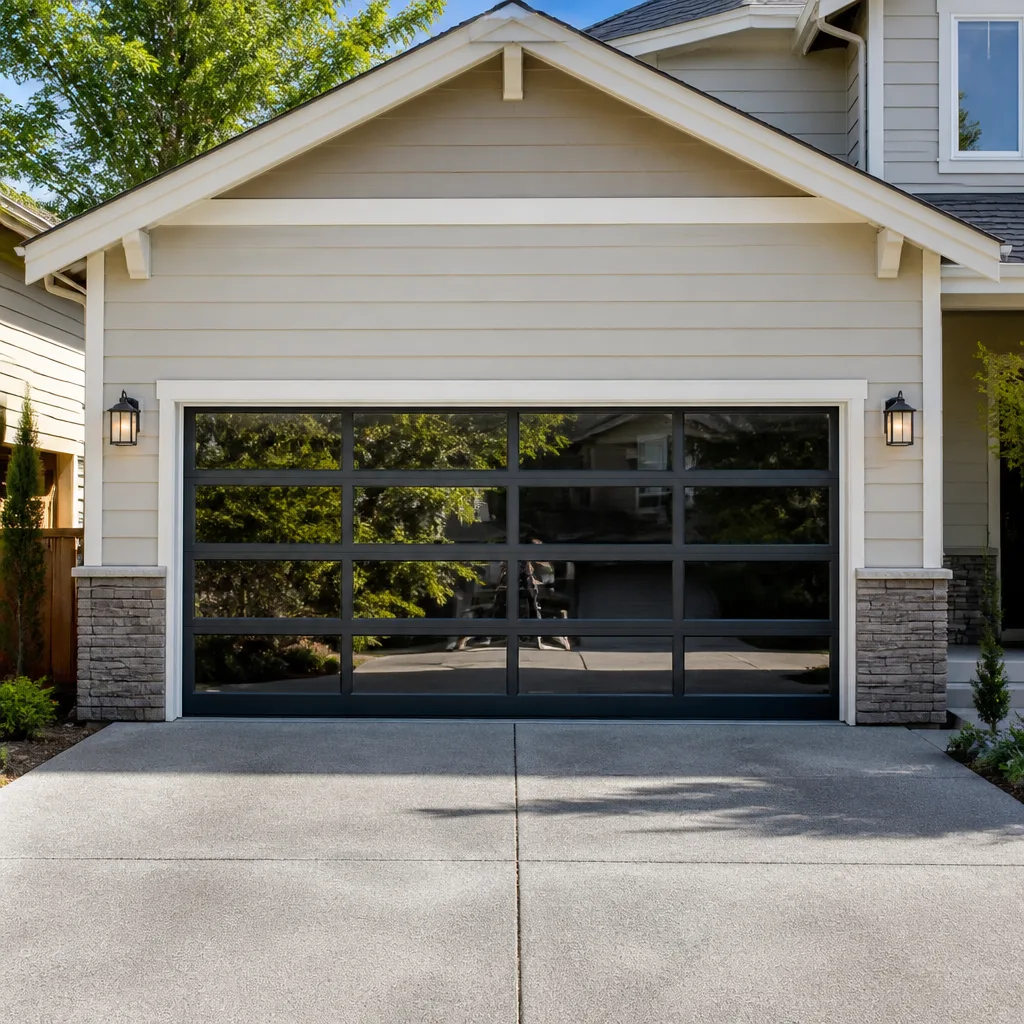 Full-view glass
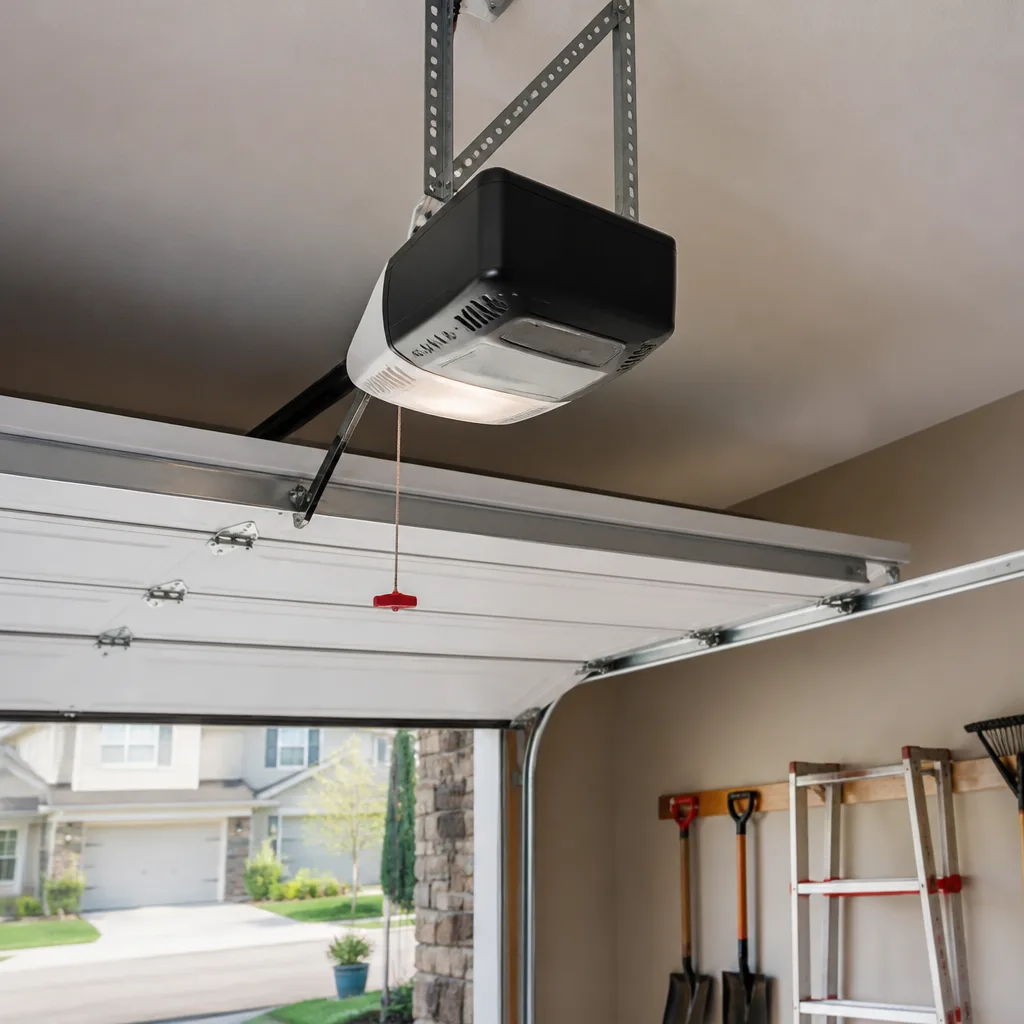 LiftMaster openers
 Chamberlain openers
Full 25-point door and opener safety check with every visit - springs, cables, rollers, tracks, and your LiftMaster or Chamberlain opener included
You get a price before we start. It does not change when the truck arrives.
Get your free estimateGarage Door Repair Maintenance Checklist for Pasadena Homeowners
Most garage door maintenance guides you’ll find online were written by someone who has never spent an August in Pasadena. They tell you to check for ice damage in the tracks and to lubricate hinges before the first snow. That advice is worse than useless here. It’s misleading. The actual failure points for garage doors in Pasadena come from three things: UV radiation breaking down seals, fine particulate from Santa Ana winds and wildfire season embedding itself in spring coils, and low-humidity air causing cables to dry out and corrode. Through our Garage Door Repair services, we’ve been fixing garage doors in Pasadena long enough to know exactly which components fail, when they fail, and what a homeowner can do about it before the failure strands them in the driveway. This checklist is built around what we actually see on service calls across the San Gabriel Valley, not around a generic template that got Pasadena swapped in at the top of the page.
Styles & brands we work with
Quick Answer
A comprehensive garage door maintenance checklist for Pasadena homeowners should cover six areas: visual inspection of springs and cables for grit and corrosion, UV damage assessment of bottom seals and weather stripping, track cleaning after Santa Ana events, lubrication with a silicone or lithium-based product (never WD-40), balance testing, and opener safety reversal testing. Most Pasadena homeowners should perform a full inspection twice a year, plus a targeted walk-through after any significant wind or wildfire ash event. Catching spring fatigue or cable corrosion early typically prevents a $180 – $340 repair from becoming a $600 – $900 replacement.
Table of Contents
- Why Pasadena Garage Doors Fail Differently
- Step-by-Step Spring Inspection (Without Touching Anything Dangerous)
- Cable Wear and Corrosion: What to Look For
- UV Damage: Seals, Weather Stripping, and Heat-Cycle Deterioration
- Tracks, Rollers, and the Santa Ana Ash Problem
- Lubrication in a Low-Humidity Climate: What Actually Works
- Balance Testing and Opener Safety Reversal Checks
- The Documented Checklist: Why You Should Keep a Dated Record
- Common Mistakes to Avoid
- When to Call a Professional
- Frequently Asked Questions
- The Bottom Line
Why Pasadena Garage Doors Fail Differently
Springs don’t fail because of cold in Pasadena. They fail because of grit. We’ve replaced torsion springs in Pasadena homes that were ten minutes from the Eaton Canyon burn scar, and the spring surface felt like sandpaper. After a Santa Ana event, fine particulate doesn’t just coat your patio furniture. It works its way into the gaps between spring coils, into the bearing plates, into the roller stems. Each time the door cycles open and closed, that grit grinds against the metal under load. Torsion springs, the thick coiled springs mounted above the door that bear most of the lifting load, already carry enormous tension. Add abrasive friction at every cycle, and you accelerate metal fatigue in ways a generic checklist never addresses.
Pasadena sits in USDA hardiness zone 10a, which is a nice way of saying the sun is unrelenting. A standard rubber bottom seal in direct afternoon exposure will start to crack, shrink, or flatten within three to five years. Most national maintenance guides assume you’re replacing weather stripping every seven to ten years. In Pasadena, the realistic replacement window is shorter. When a bottom seal loses its flex and develops gaps, you get more than a dusty garage, you get rodent access points, heat intrusion, and a door that no longer sits square to concrete.
Low humidity is the third factor. The air in Pasadena averages under 50% relative humidity for much of the year. That’s good for your house framing and bad for certain types of lubricants, which dry and gum. It’s also why cable corrosion paints a different picture here than in coastal California. Cables don’t rust from salt air. They wear from dry friction where the cable wraps around the drum, and from micro-abrasion where the cable passes through the pulley. We’ll get into what that looks like later.
What this means in practice: a Pasadena homeowner who follows a generic seasonal maintenance schedule might inspect in spring and fall and still miss the exact conditions that kill garage door components here. The triggers are different. The inspection points are different. The products are different. For more guides & resources tailored to this region, see our blog.
Step-by-Step Spring Inspection (Without Touching Anything Dangerous)
Before anything else: torsion springs are not a DIY component. A torsion spring under load holds anywhere from 100 to 250 pounds of torque, and when it releases, it releases all at once. We say this at the start of every guide because we’ve seen the alternative. Do not loosen, adjust, unwind, or remove a torsion spring yourself. What we’re describing here is a visual inspection only, done from the floor with the door closed.
Here’s the step-by-step process we use when we walk a Pasadena homeowner through inspecting their own door:
- Put the door in the closed position. Most of the spring tension is released when the door is down, which means you can inspect the spring coils in their relaxed state without risk.
- Stand to the side of the door, not directly underneath. If a spring were to fail during inspection, you want to be out of the travel path. This is a habit of ours. It’s a good habit for you.
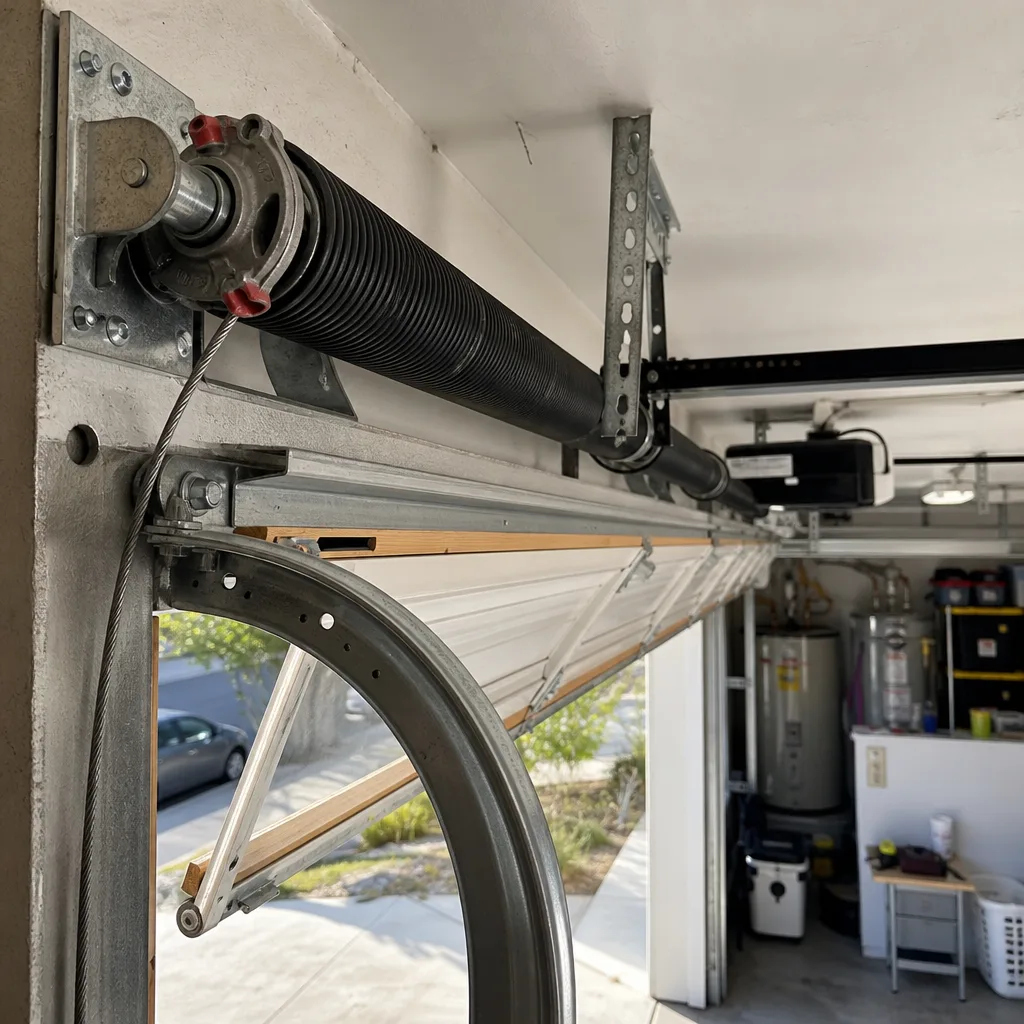
- Look at the torsion spring above the door. Check for a visible gap in the coil. A broken torsion spring almost always shows a clean two-to-three-inch separation where the metal snapped. If you see that gap, stop the inspection and call a professional. The door is not safe to operate.
- Run your eye along the coil length. You’re looking for rust-colored dust, dark streaks, or uneven coil spacing. Rust-colored dust is metal grit from the coils grinding against each other. It means the spring is wearing from the inside out, which is exactly what post-Santa-Ana grit causes.
- Check the spring cone and set screws. The cones are the metal fittings at each end of the spring. Look for white or yellow residue at the set screws, which indicates the screws have shifted under vibration. If the set screws look corroded or the cone has shifted even slightly off-center, that spring needs professional attention.
- Repeat for a second spring if your door has two. Many double-wide garage doors in Pasadena run on a two-spring system. If one spring fails and you don’t replace both, the remaining spring carries unbalanced load and fails sooner. That’s not a sales pitch. That’s physics.
Most spring inspections take under two minutes. What you’re looking for is change: a gap that wasn’t there last month, dust that wasn’t there before the last wind event, a cone that was centered and now isn’t. Document it. We’ll explain why in the section on keeping records.
Cable Wear and Corrosion: What to Look For
Garage door cables don’t sag, stretch, or fail silently. They telegraph. In Pasadena’s dry climate, the failure pattern is almost always visible if you know where to look, and the most important place to look is the bottom bracket, where the cable attaches to the bottom corner of the door, and at the drum, where the cable spools at the top of the shaft.
Here’s what to inspect:
- Fraying at the bottom bracket. Look for individual wire strands that have separated from the main cable. Even one bent or frayed strand means the cable is compromised and will fail, usually when the door is mid-cycle and the weight shifts.
- Corrosion at the cable-drum interface. The drum is the grooved spool on the shaft above the door. Under low humidity with dust infiltration, the cable can develop a dark, oily residue where it wraps the drum. That residue isn’t oil. It’s metal micro-dust from cable wear. If you see it, the cable is already losing diameter.
- Kinks or flat spots. A cable that has jumped a groove and been put back can develop a permanent deformation. Once a cable has a kink, it has a weak point. Replacement is the only correct fix, not re-spooling.
- Uneven spooling. Open the door halfway and watch the drum. If the cable is stacking on one side of the groove instead of lying flat, the drum is out of alignment or the cable has stretched unevenly. That’s a call for a professional.
In our experience, cable replacements in Pasadena run $150 – $275 for a typical single cable, depending on cable type and drum condition. If the drum or bottom bracket is also worn, the job runs higher. The failure is almost always preceded by visible warning signs. The homeowners who catch the signs early pay for a cable. The ones who don’t pay for a new door panel, new cables, often new springs, and sometimes a service call at six in the morning because the door came off its tracks and blocked the car in the garage. The math favors inspection.
UV Damage: Seals, Weather Stripping, and Heat-Cycle Deterioration
The bottom seal on a garage door in Pasadena lives a hard life. Direct afternoon sun, surface temperatures above 140 degrees in the summer, and nightly cooldowns equal a heat-cycling schedule that breaks down rubber faster than almost anywhere in the country. The side and top weather stripping takes less direct heat, but it still suffers from UV embrittlement.
Here’s our inspection framework for seals and stripping, built around what Pasadena actually throws at them:
- Run your hand along the bottom seal with the door closed. You’re feeling for flat spots, gaps, and brittleness. A healthy seal compresses slightly against the concrete. A UV-damaged seal feels hard, has visible checking like old tire rubber, and leaves daylight visible between the seal and the floor.
- Check the corners. Pasadena garages frequently taper at the corners, and seal failure starts where the seal makes its tightest bend. If the seal has pulled away from the T-channel or the retainer at the corner, that’s a replacement trigger.
- Look for pest entry points. A cracked bottom seal is a welcome mat for rodents, and Pasadena has rats. We’ve seen garage doors in South Pasadena and Altadena where a dime-sized gap in the corner seal became a freeway for roof rats. Silicone against the gap doesn’t fix it. The seal needs to be replaced.
- Inspect side weather stripping for tears and shrinkage. Side stripping on south-facing and west-facing doors takes extreme UV. When it shrinks, it pulls away from the jamb and leaves gaps where afternoon heat enters and where dust infiltrates after wind events.
- Check the top seal. The top seal gets the least UV but still degrades from heat reflection off the roof. Look for flattening. A flattened top seal doesn’t seal.
A bottom seal replacement typically runs $80 – $150 in the Pasadena market, installed. Side and top stripping runs on a per-foot basis. That’s a fraction of the cost of repairing what happens when a failed seal lets in enough heat and debris to affect the door’s balance or lets in rodents that chew opener wiring. If your seal shows any of the signs above, the part has already failed. There’s no salvage. Replace it.
Tracks, Rollers, and the Santa Ana Ash Problem
The single most overlooked maintenance item in Pasadena is track contamination after wind events. After a Santa Ana, the horizontal tracks above your door, the vertical tracks on both sides, and the roller stems collect a fine layer of dust and, in bad fire seasons, ash. That particulate doesn’t just sit there. It mixes with whatever lubricant is present and forms an abrasive paste. Every cycle drags that paste through the roller path.
Post-wind event inspection steps, some of which we recommend after any significant Santa Ana or after wildfire season when ash is present in the air:
- Wipe the interior of the vertical tracks with a clean, dry microfiber cloth. You’re removing dry particulate before it bonds with lubricant. Wipe top to bottom.
- Check the roller stems. Nylon rollers with steel stems are common on doors from Amarr and Wayne Dalton. The stem is where grit collects. If the stem is blackened or gritty, wipe it clean with a dry cloth. Do not lubricate the stem. It needs to stay dry.
- Look for track scoring. Run your finger lightly along the inside face of each track. Scoring feels like grooves or roughness. Track scoring is permanent damage caused by grit trapped between roller and track, and it accelerates roller wear every cycle after it develops.
- Check the track brackets and mounting bolts. Vibration from wind buffeting can loosen track brackets over time. A track that has shifted even a quarter-inch changes the door’s travel geometry and puts load on the rollers and hinges in ways they weren’t designed to take.
Roller replacement in Pasadena runs $10 – $25 per roller for standard nylon rollers, depending on stem size, plus the service call. Track cleaning is something a homeowner can and should do themselves after wind events. It’s free, it takes ten minutes, and it prevents the kind of cumulative damage that turns a $200 tune-up into an $800 track and roller replacement.
Lubrication in a Low-Humidity Climate: What Actually Works
Stop using WD-40 on your garage door. We’ll say it plainly: WD-40 is a solvent and a water displacer, not a lubricant for load-bearing garage door components. In Pasadena’s dry air, it evaporates and leaves behind a thin, sticky residue that actually attracts dust and grit. If you’ve been spraying WD-40 on your rollers and hinges for years, there’s a good chance you’ve been making the problem worse.
What to use instead, and where:
- White lithium grease works well on hinges, brackets, and the torsion spring. It stays put in dry heat and doesn’t run.
- Silicone spray lubricant is the better choice for rollers, especially nylon rollers, and for the track. It provides a slick surface without attracting particulate the way petroleum products do. Apply sparingly; you need a thin coating, not a puddle.
- Garage door-specific lubricant is worth the extra few dollars. These products are formulated to stay stable through temperature swings and to resist drying in low humidity. The big door manufacturers, including Clopay and Amarr, generally recommend a silicone or lithium-based product over penetrants.
What not to lubricate:
- Do not lubricate the track itself. This is the single most common homeowner mistake. The rollers move inside the track. The track does not need to be slick. Lubricating the track attracts dust, and in Pasadena after a Santa Ana, that dust becomes a grinding paste that scores the track and destroys rollers. Wipe tracks clean, keep them dry.
- Do not lubricate the cable. Cables need to grip the drum. Lubricant on a cable causes spooling problems and premature wear.
- Do not lubricate the opener rail if it’s a belt drive. Belt drives run dry. Chain drives take a light chain lubricant applied to the chain only.
The right lubrication schedule for Pasadena is two or three times a year, with an additional light application after a heavy dust event. The goal is a thin, stable film on moving metal parts. If you can see the lubricant beading or dripping, you’ve used too much.
Balance Testing and Opener Safety Reversal Checks
A garage door that’s out of balance is the number one cause of premature spring failure and opener motor burnout. The door in a properly balanced system should hold position roughly halfway through its travel when released manually. If it slams downward or shoots upward, the springs are either fatigued or incorrect for the door’s weight, and the opener is doing more work than it was built to do.
Here’s how to test balance, and we’ll note the safety considerations:
- Close the door. Pull the red emergency release handle to disconnect the opener. This handle hangs from the opener rail.
- Manually lift the door to about waist height. Use both hands, keep your body clear, and keep a firm grip. A severely unbalanced door can drop fast.
- Release the door. If the door stays roughly where you released it, the springs are doing their job. If it drops more than a few inches, the springs are losing tension. If it climbs, the springs are over-torqued or the door is too light for the spring configuration.
- Reconnect the opener by pulling the release handle toward the door and cycling the opener once. You’ll hear the carriage re-engage.
Safety reversal testing is simpler and should be done monthly. Place a 2×4 or a brick flat on the floor under the door’s path. Close the door with the opener. The door should reverse within two seconds of contact with the object and return to the open position. If it doesn’t, the opener’s force settings are out of adjustment or the safety sensor system is malfunctioning. Photoelectric sensors, the small units mounted near the floor on each side of the opening, should be clean and aligned. A sensor covered in post-wind dust can fail to see an obstruction and compromise the reversal system.
Federal law has required auto-reverse safety systems on all residential openers sold since 1993. If your opener predates that, replace it. It’s not worth the risk of a door closing on a child or a pet. Most Pasadena homes with original openers from the 1980s or early 1990s are overdue for replacement, and modern openers from brands like LiftMaster, Chamberlain, Genie, and Craftsman include redundant safety systems that older units simply don’t have.
The Documented Checklist: Why You Should Keep a Dated Record
Here’s a fact most homeowners never consider: if you ever file a warranty claim, a homeowner’s insurance claim, or even a dispute about a prior repair, a dated maintenance log is evidence. We tell our customers to keep it, on paper, in a drawer, with the date and what was observed each time. A year of documented inspections showing progressive seal wear, for example, establishes that you maintained the door rather than neglected it.
Your record doesn’t need to be elaborate. A simple dated note works. Here’s the format we suggest:
- Date of inspection
- Spring condition observed (no issues / rust dust noted / gap observed)
- Cable condition observed (no fraying / fraying at bottom bracket / corrosion at drum)
- Seal condition observed (soft and sealing / checking noted / gap at corner)
- Track condition observed (clean / grit present / scoring noted)
- Balance test result (held at midpoint / dropped / climbed)
- Reversal test result (reversed / did not reverse)
- Anything lubricated and with what product
This is the same documentation discipline our own technicians follow on every visit to a garage door repair in Pasadena. It’s not busywork. It creates a factual record of the door’s condition over time, which makes small problems visible before they become emergency failures, and it protects you if a dispute ever arises.
Common Mistakes to Avoid
- Using WD-40 or a penetrating oil as a primary lubricant. It evaporates in low-humidity air and leaves a residue that holds dust. Use silicone or lithium-based lubricants instead.
- Lubricating the track. Tracks should be clean and dry. Adding lubricant to a Pasadena track after a Santa Ana event is how you create grinding paste and scoring.
- Ignoring a balance test result. A door that doesn’t hold at midpoint is telling you something specific about the springs. If you ignore the warning, the springs will fail at the worst possible time, and they’ll take the cables, hinges, or panels with them.
- Attempting to adjust or replace a torsion spring yourself. This is the one garage door component that can cause life-threatening injury when mishandled. We’ve said it once and we’ll say it again: this is not a DIY job.
- Postponing a seal replacement because the gap looks small. Small gaps at floor level become rodent access, heat intrusion, and dust infiltration. Pasadena rats are persistent. A new bottom seal is a $100 fix that prevents a much larger problem.
- Operating the door after noticing a frayed cable. A frayed cable is a loaded failure. Every cycle after the fray appears is borrowed time. Call for service before using the door again.
- Replacing one spring on a two-spring system. The remaining spring is a fatigue risk, and the door’s balance will be off. Always replace springs as a matched set.
When to Call a Professional
Some garage door maintenance tasks are genuinely safe for a homeowner. Visual inspection, track cleaning, seal inspection, sensor cleaning, and balance testing are all within reach if you follow the safety notes in this guide. Other tasks are not. If you see a gap in a torsion spring, fraying on a cable, a door that has come off its tracks, or a door that fails the balance test and drops when released, stop and call a professional. Our How to Hire a Garage Door Contractor in Pasadena: A Step-by-Step Guide can help you choose the right one. These are load-bearing components under high tension, and the failure mode is sudden and dangerous.
Brock Garage Doors Pasadena offers free estimates in Pasadena. Our technicians are background-checked, uniformed, and trained on garage doors from LiftMaster, Chamberlain, Genie, Clopay, Amarr, Wayne Dalton, Craftsman, and Raynor. Every visit includes a written price before any work begins, and every repair carries our 365-day written guarantee. We also run free re-inspections if a covered repair fails within that year. Call (626) 788-0967 for a free estimate or to schedule an inspection.
Frequently Asked Questions
Twice a year is our baseline, plus a targeted inspection after any significant Santa Ana wind event or during active wildfire season when ash is in the air. A Pasadena garage door faces UV, dust, and low-humidity wear that accumulate faster than in most climates, so the six-month mark is the maximum interval we recommend for visual spring, cable, and seal checks.
A professional tune-up in Pasadena typically runs $80 – $150 depending on what’s included, while a full inspection with minor adjustments may run higher if parts need replacement. We suggest calling (626) 788-0967 for an exact quote, and every price is written before work starts so there are no surprises.
Yes, if you use the right product and the right points. Use a silicone spray or white lithium grease on hinges, rollers, and the spring. Never lubricate the track, never lubricate the cable, and never use WD-40, which dries in low-humidity air and attracts grit. If you’re uncertain, our technicians can lubricate your door during a service visit in Pasadena.
Persistent squeaking after lubrication usually means the noise isn’t from dry metal. It often comes from a worn roller bearing, a hinge pin, or a spring that’s nearing failure. In Pasadena, post-wind grit can also score a roller stem so badly that lubrication no longer quiets it. If lubricant didn’t fix the sound, have a professional inspect the moving components. Call (626) 788-0967 and we’ll help you work through it.
Standard torsion springs are rated for 10,000 cycles, which typically translates to 8 – 12 years under normal use in Pasadena’s dry environment. But two Pasadena-specific factors can shorten that: fine particulate from Santa Ana events accelerating metal fatigue, and frequent cycling in homes where the garage is used as the main entry. If your springs are past the eight-year mark, start watching them closely.
Yes. Santa Ana winds drive fine particulate into every opening, including spring coils, roller stems, and track surfaces. That grit becomes abrasive under the load of a moving door, and the damage accumulates. After any significant Santa Ana event, we recommend wiping your tracks dry and inspecting your springs for rust-colored dust.
The Bottom Line
A garage door in Pasadena doesn’t fail because of winter. It fails because of sun, fine dust, dry air, and ignored warning signs. The maintenance checklist above works because it is built for that reality: spring inspection for grit fatigue, cable checks for dry corrosion, seal checks for UV damage, track cleaning after wind events, correct lubrication, balance testing, and a dated record of it all. None of these steps takes more than a few minutes. The ones that involve high-tension components should be left to professionals. If you want a professional inspection on a Brock Garage Doors Pasadena home, or if you need service on a door that’s already failing, call (626) 788-0967. We’ll put the price in writing before any work starts, and we’ll stand behind the repair in writing for a full year.
Written by Wade Mercer, Owner at Brock Garage Doors Pasadena, serving Pasadena since 2001.
See the difference
 Before
 After
After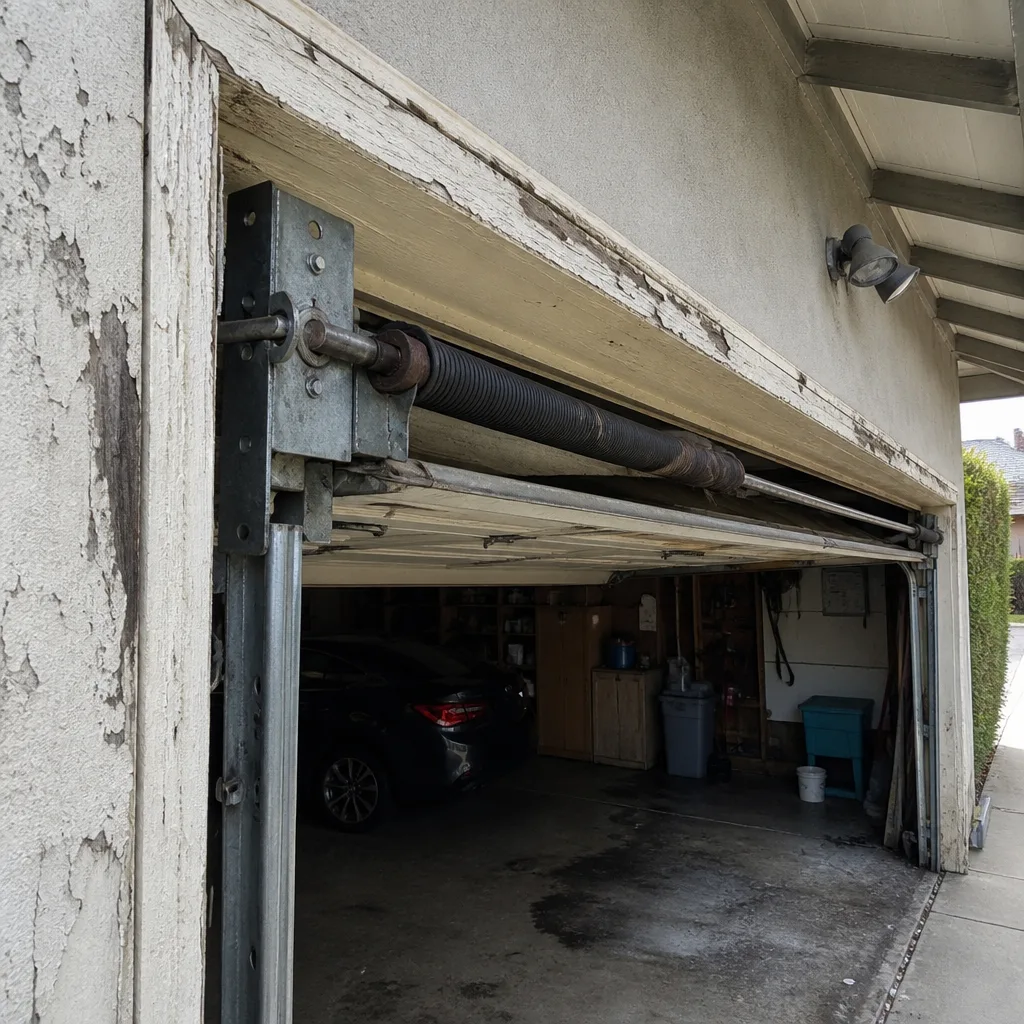 Before
 After
After Before
 After
After